how to upload a background image dreamweaver cc
Create a multi-exposure image with Adobe CC
Adobe tasked me with creating an illustration to express the concept of multilocalism, and in a higher place you tin can see my response. In this tutorial, I'll walk through my creative procedure using all the tools in Adobe'southward Creative Cloud. You can see how I went from vision to finished artwork using Photoshop CC, Illustrator CC, Dimension, Adobe Stock – and some traditional paints. To learn more techniques, accept a look at our roundup of the all-time Photoshop tutorials and Illustrator tutorials.
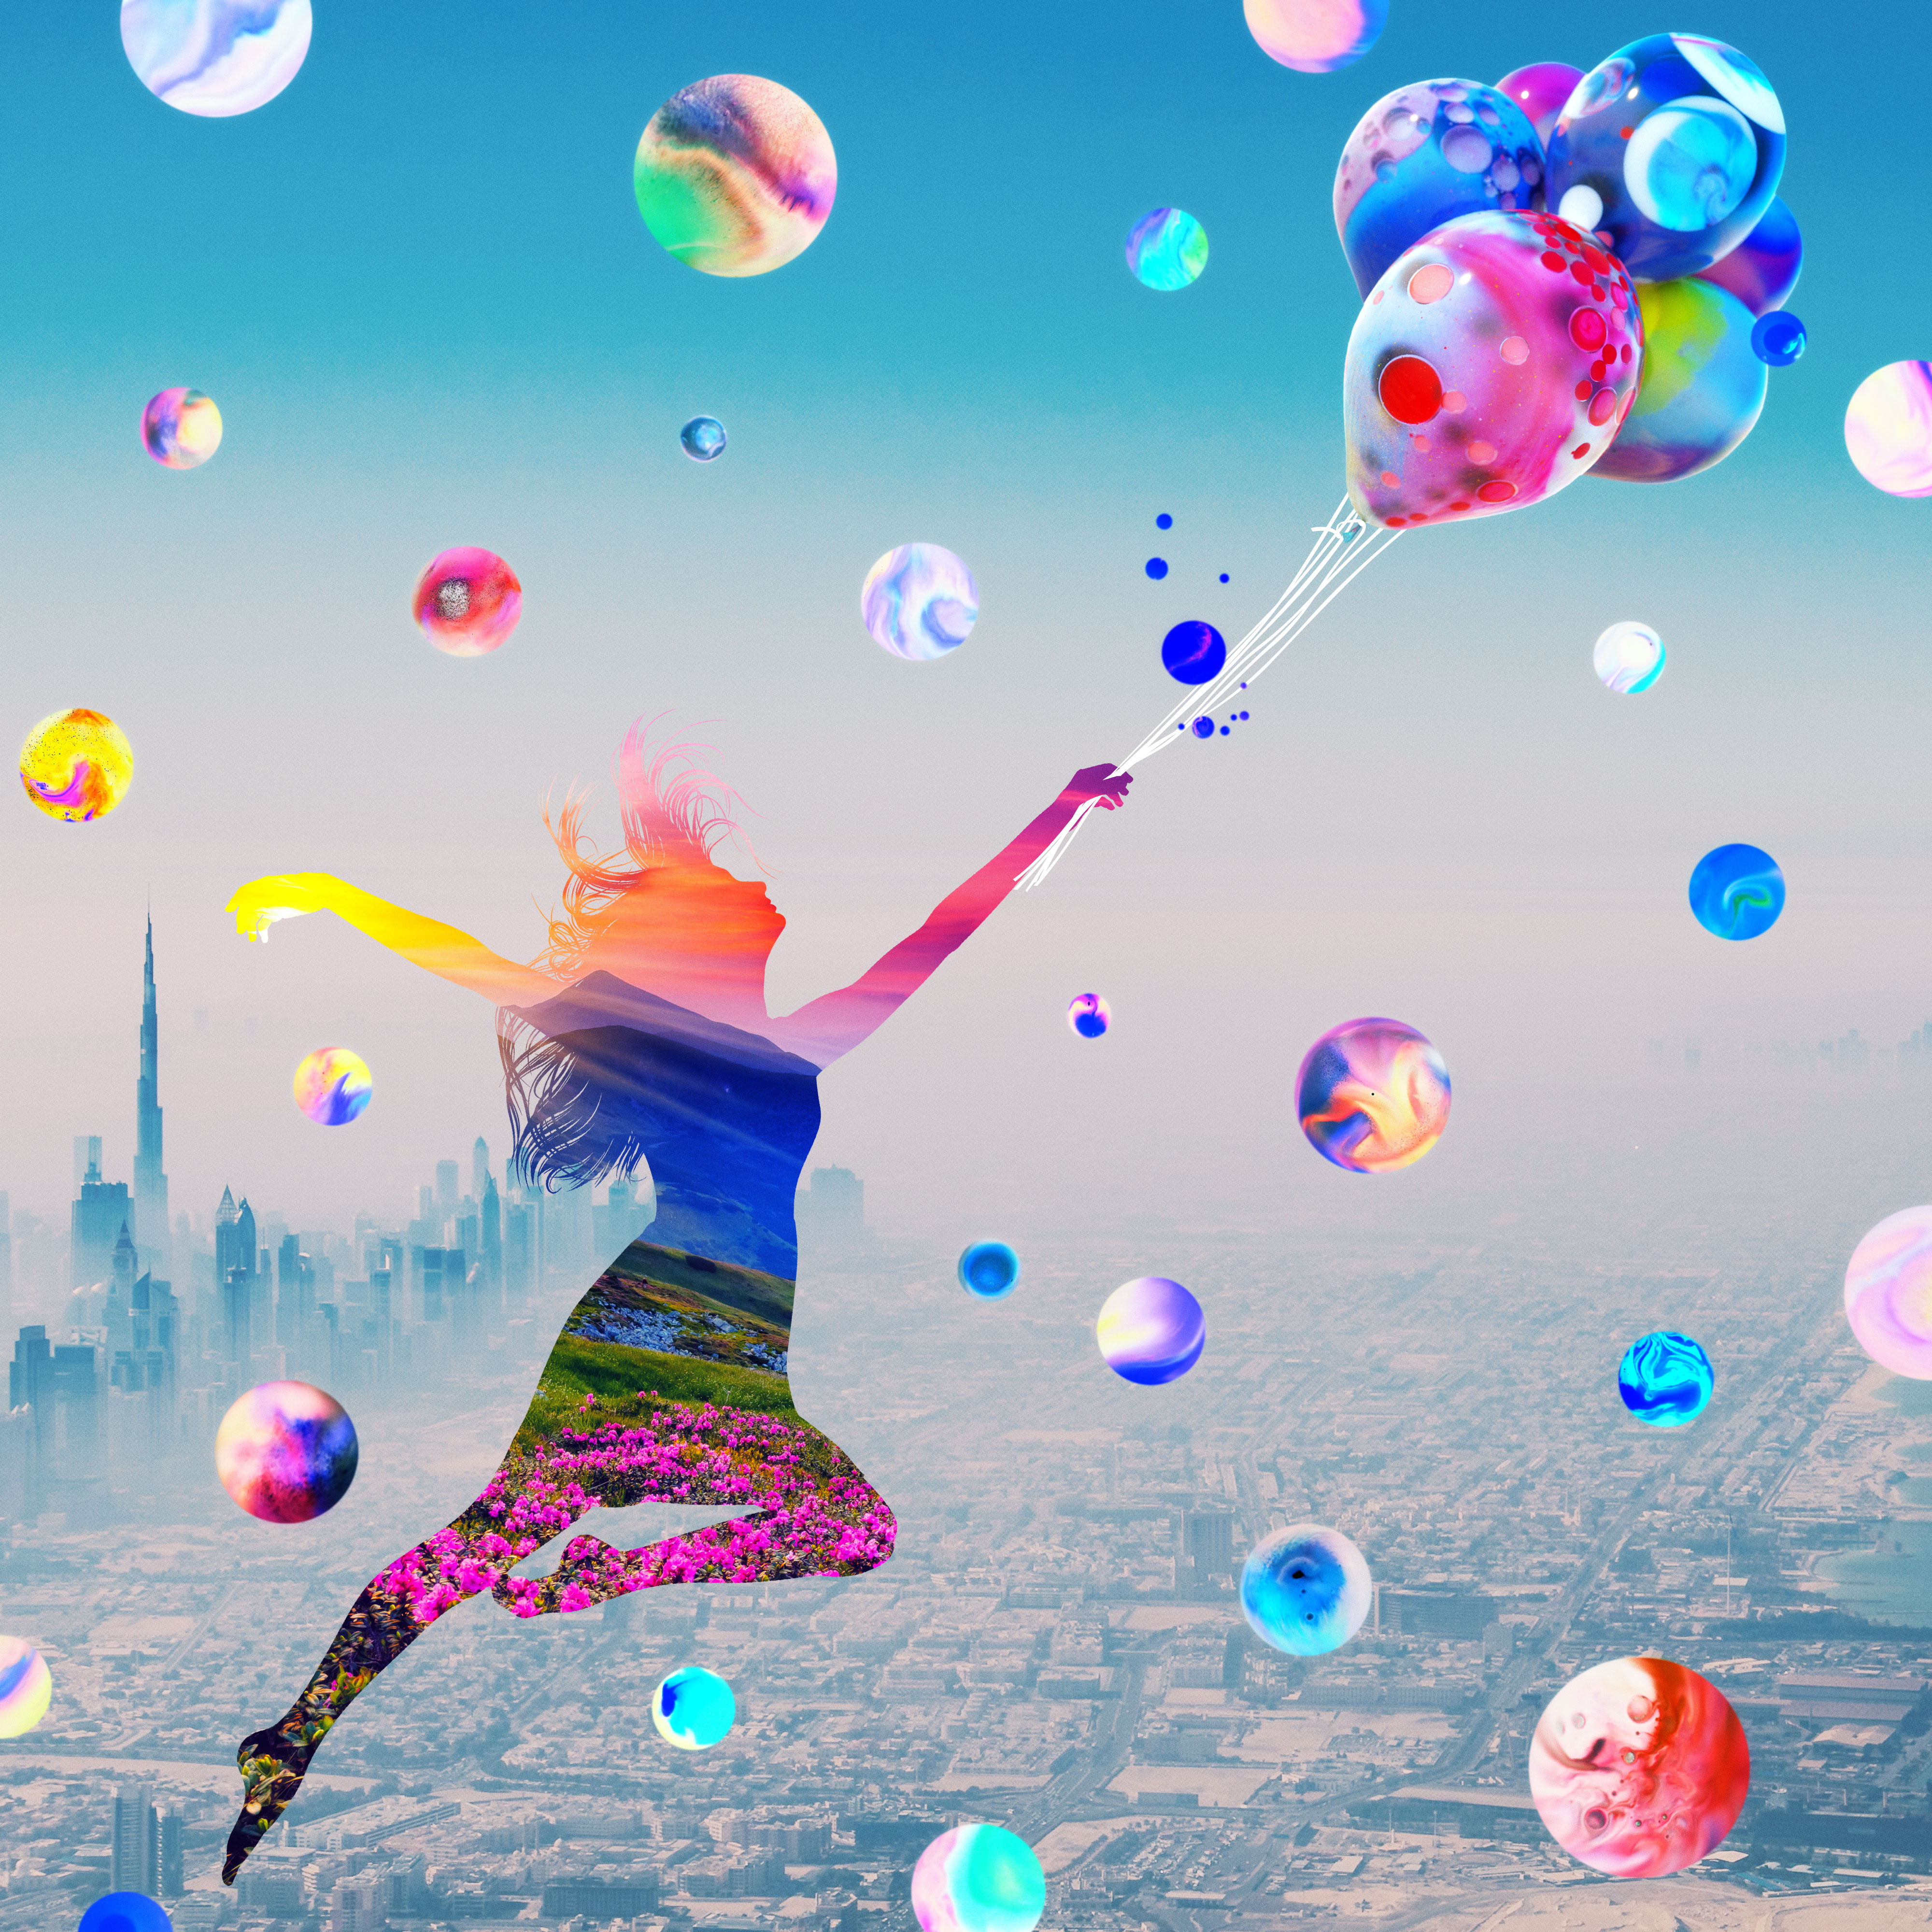
When Adobe asked me to illustrate the concept of multilocalism, the thought of a silhouette of a person with a balloon flying through a city came to my heed about immediately. To me, it expresses freedom and movement. I used a multi-exposure technique to express the dissimilarity betwixt the place where we are and where we wish to be, and to bear witness the transition from monochrome reality to a bright dream.
01. Create a silhouette
I begin by searching Adobe Stock for a photo I tin turn into a silhouette. If you're new to Adobe Stock, you can download 10 images for gratuitous to go you started. I consider many pictures of dancers and jumping people until I detect one that suits my idea perfectly.
I license ii photos of the woman in dissimilar poses because I like the position of the caput in one and the body in another. Sometimes, even a slight difference in mitt rotation can make all the difference. In Photoshop, I combine parts from both photos into one crude figure, earlier switching into Illustrator to describe the silhouette with the Pen tool.
I mostly follow the outline of the effigy but do change some elements, such as a foot, as I continue. I likewise license a panorama of the city, a photo of a sunny mural, and a 3D object of a balloon, all of which I'll use later in my procedure.
02. Draw in your hair
The next step is to draw in the hair. This is one of the most important details in the analogy – the costless and airy pilus in this photo was i reason I chose it. It took me more than xc minutes to describe the pilus.
I recommend that y'all first with larger objects and gradually move on to smaller ones. Using Illustrator's Pen tool, I outline large curls effectually which I'll draw in effectively details. On the top of the effigy'due south head at that place's a curl that may wait similar a horn in the silhouette – I'll fix that later.
When cartoon small curls and pilus, I create my ain Illustrator brushes. Information technology's best to create several brushes in different sizes. I depict individual hairs with the Pen tool. If yous have a graphics tablet, it's better and faster to use the Brush tool, but I just work with a touchpad. Once the silhouette is finished, I save the Illustrator file with a transparent background.
03. Get your paints out
I want a few abstract, bright textures to fill the balloons and decide to brand them with paints, water and oil. It'southward important to utilize liquid pigment that is non thick. I fill syringes with paints, cascade oil on a dish, and play with the colours. Because of the oil, the paint drops don't spread, only stay in a brawl shape. To mix colours, I add water.
04. Adapt in Photoshop
I photograph the results of my counterpart experiments. You'll want good quality images here, and then dig out your best camera for this. I open the files in Photoshop to crop them and adjust the levels.
05. Attempt a impact of 3D
To make the balloons for the final artwork, I could have just fatigued silhouettes and filled them with my paint textures. Withal, I want the balloons to look real, so I begin with a 3D file from Adobe Stock and open that in Adobe Dimension, the new 3D app in the Artistic Deject. I make copies of the balloon, group them, and so utilise the textures I made with paint. I haven't worked with 3D for a long time, but Dimension is simple to use and fairly intuitive.
06. Put information technology all together
In Photoshop, I create a new document sized 4000 × 4000px. I copy and paste the city panorama, a vivid landscape, the silhouette, and the balloons and arrange them on the artboard. Using a clipping mask, I make full the silhouette with the bright landscape.
07. Make final adjustments
To increment detail in the landscape, I run a filter called Color Efex Pro's Particular Extractor from the Nik Collection (a range of super-useful Photoshop plugins) and then duplicate the layer to increase the brightness. Afterwards, I apply Gaussian Mistiness and the Soft Calorie-free Blend mode.
Now for whatsoever final tweaks. I want to see more elements, so I add circles cut from the textures with multicoloured overflows. This as well brightens the image.
Read more than:
- 10 killer examples of illustrated advertizement campaigns
- The best drawing apps for iPad
- 10 ways to transform your creative thinking
Related manufactures
Source: https://www.creativebloq.com/how-to/create-a-multi-exposure-image-with-adobe-cc
0 Response to "how to upload a background image dreamweaver cc"
ارسال یک نظر